Quickstart Guide
This guide will walk you through setting up a complete Efímero: Disposable Chain environment for testing and development, focusing on the airdrop use case example.
Prerequisites
- Rust and Cargo installed
- Node.js and npm installed
- Git
1. Run an Efímero Node
Clone the repository
git clone https://github.com/blockdeep/efimero-node-template
cd efimero-node-template
git checkout master
Start the network with Zombienet
./run-zombienet.sh testnet_asset_hub
The script automatically checks your system and builds or fetches the required binaries. A local test network will launch with the following nodes:
- 2 Paseo Local Validators
- 2 Paseo Asset Hub Local Collators
- 2 Disposable Chain Local Collators
After a few minutes, all nodes should be producing blocks.
2. Run the Merklize Tool (Proof & Root Generation)
Clone the repository
git clone https://github.com/blockdeep/merklize
cd merklize
git checkout main
Prepare your dataset
- Navigate to
test/data/test.csv - Ensure that the account you plan to use for testing is included
- The file contains multiple real-world Substrate accounts. If you are using a freshly generated account, add it manually and assign yourself a balance.
Run Merklize CLI
cargo run --bin cli -- --input test/data/test.csv --key-column address csv
This starts the Merklize server. It provides both a library and HTTP API for generating Merkle proofs and roots based on datasets (in this example, CSV).
3. Run the Efímero UI
Clone the repository
git clone https://github.com/blockdeep/disposable-ui
cd disposable-ui
git checkout main
Set up the environment
npm run setup:env
This command executes setup-environment.ts, which automates critical initialization steps:
- Open HRMP channel between Disposable Chain and Asset Hub (Zombienet does not automate this)
- Fund the Disposable Chain's Sudo account with Relay tokens
- While the genesis file currently allocates tokens to Sudo, in production the chain may start with no balances
- Create and mint assets on Asset Hub to be bridged into the Disposable Chain
- Create the derivative asset on the Disposable Chain (same ID mapping)
- Transfer tokens via XCM from Asset Hub to the pot account on the Disposable Chain (tokens become claimable)
- Retrieve the Merkle root from the Merklize server and store it on the Disposable Chain
Important: We highly recommend reviewing this script carefully, as it encapsulates the standard setup procedure most applications will follow when deploying ephemeral chains.
Start the development server
npm run dev
Open your browser and connect to the running application. You can now interact with the system using your preferred wallet (e.g., Polkadot.js, Talisman, Subwallet).
Complete Workflow
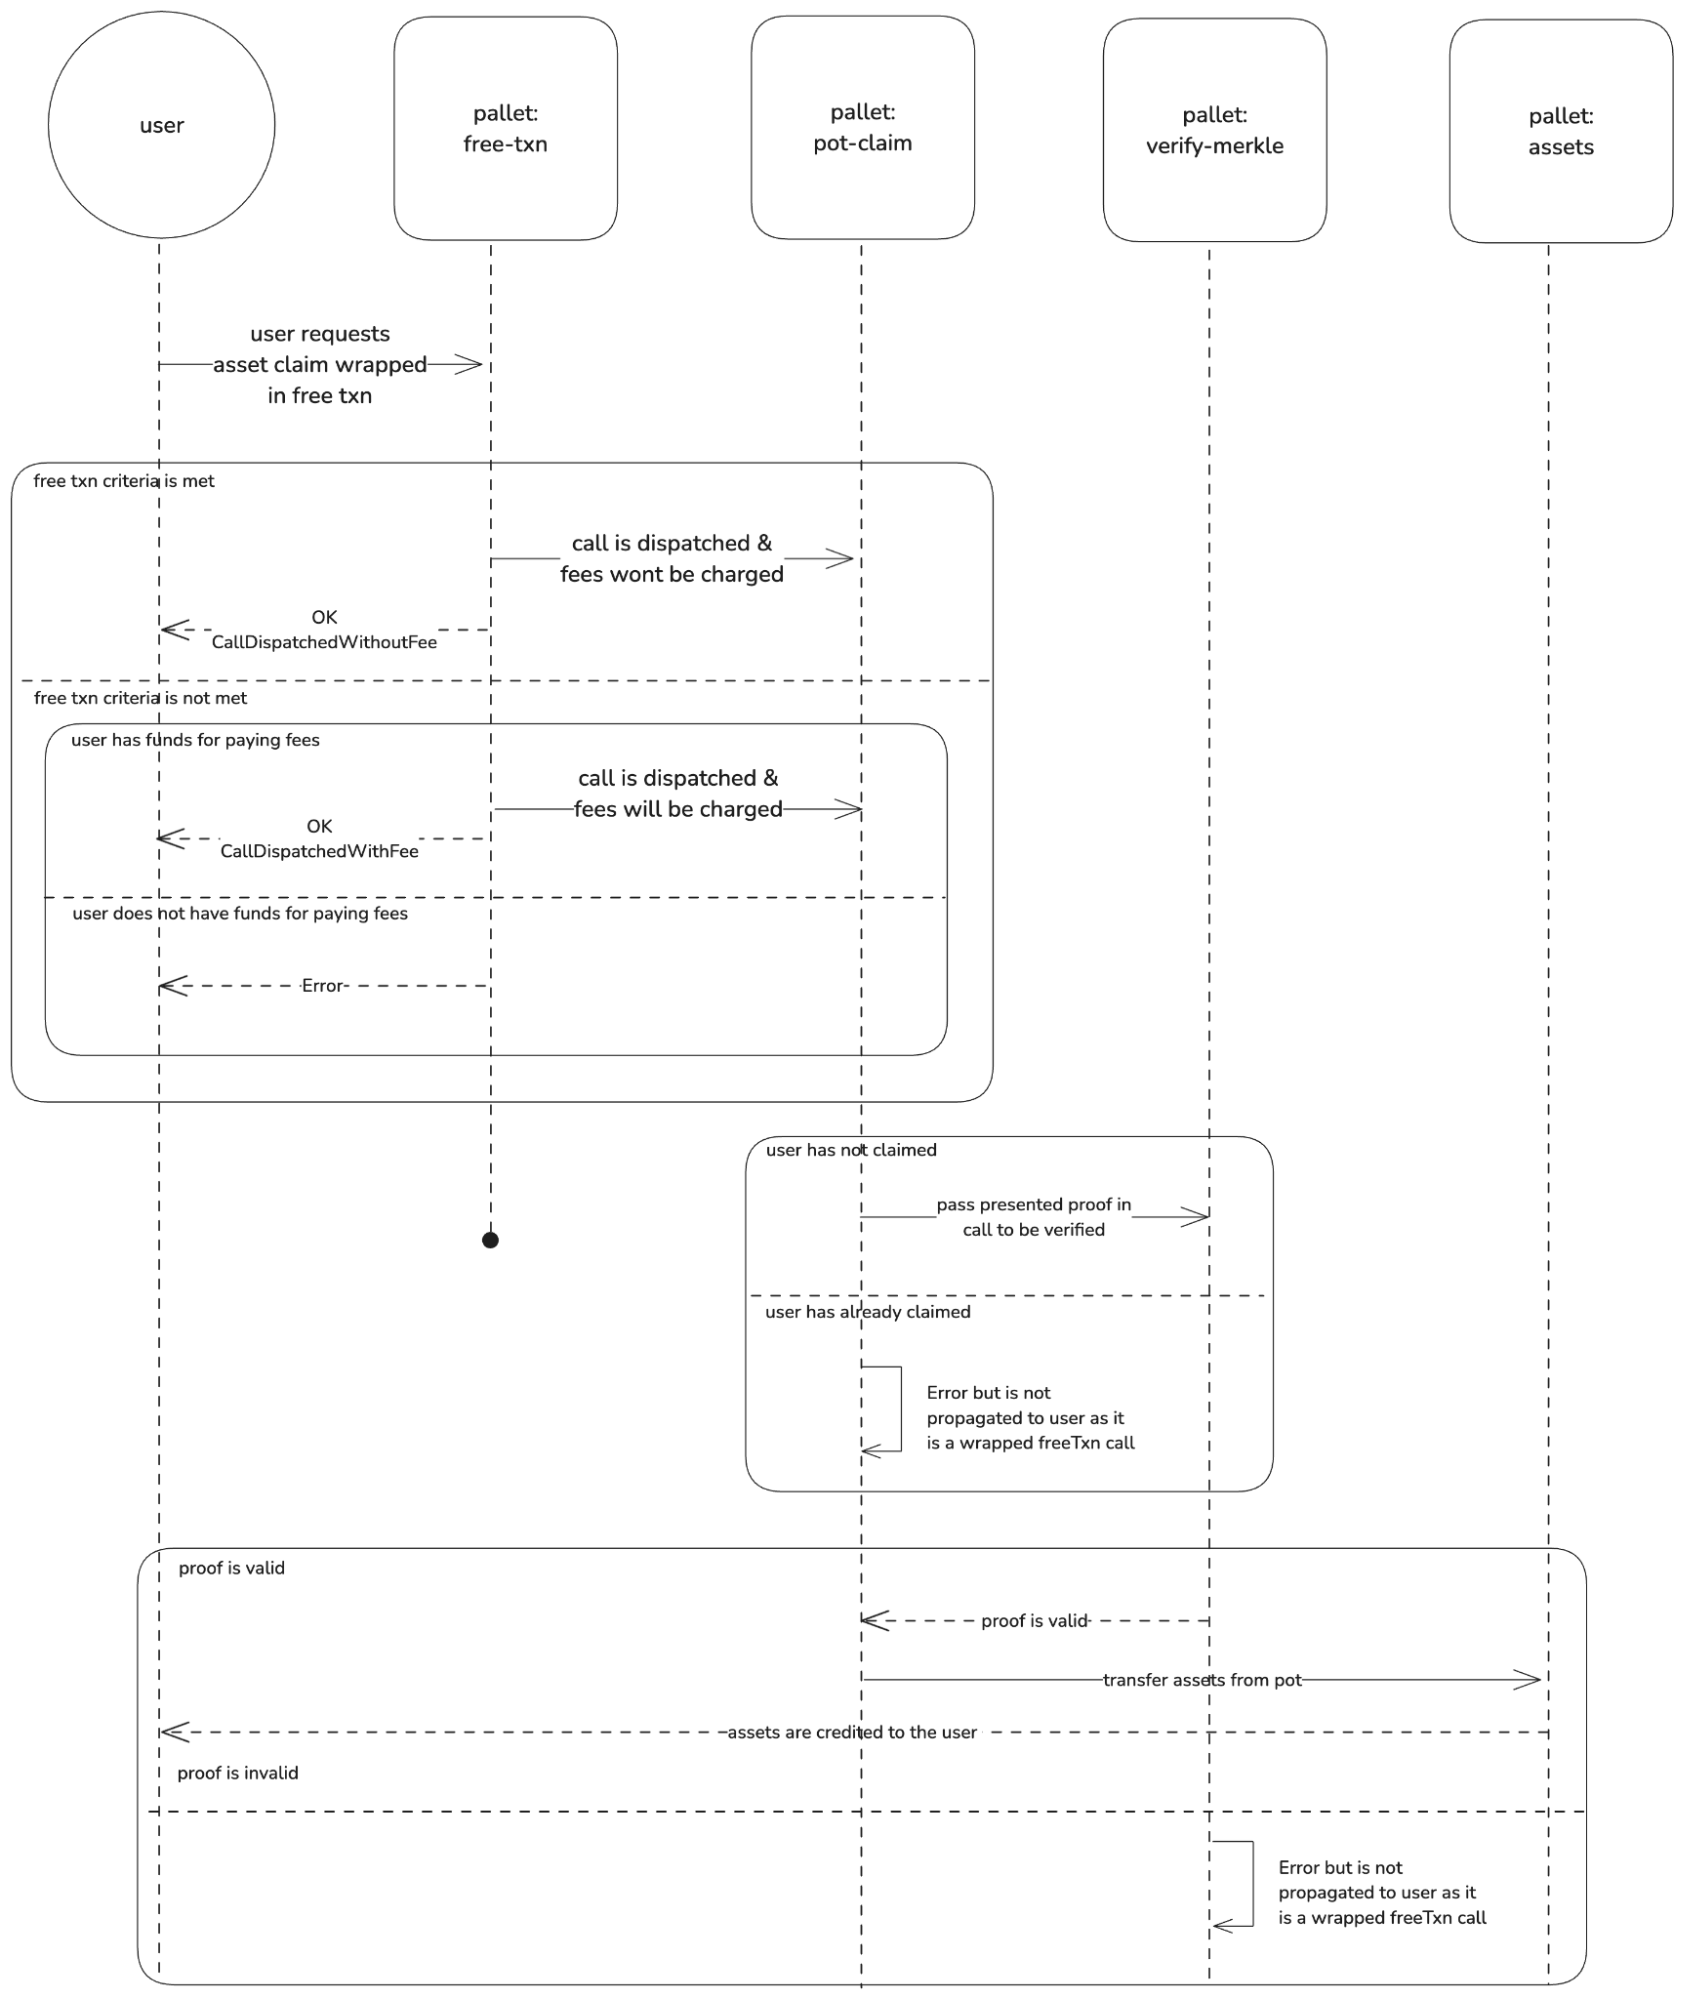
With all components running, you now have the complete workflow:
- Disposable chain running via Zombienet
- Merkle server generating proofs
- Front end enabling wallet-based claims and cross-chain transfers
